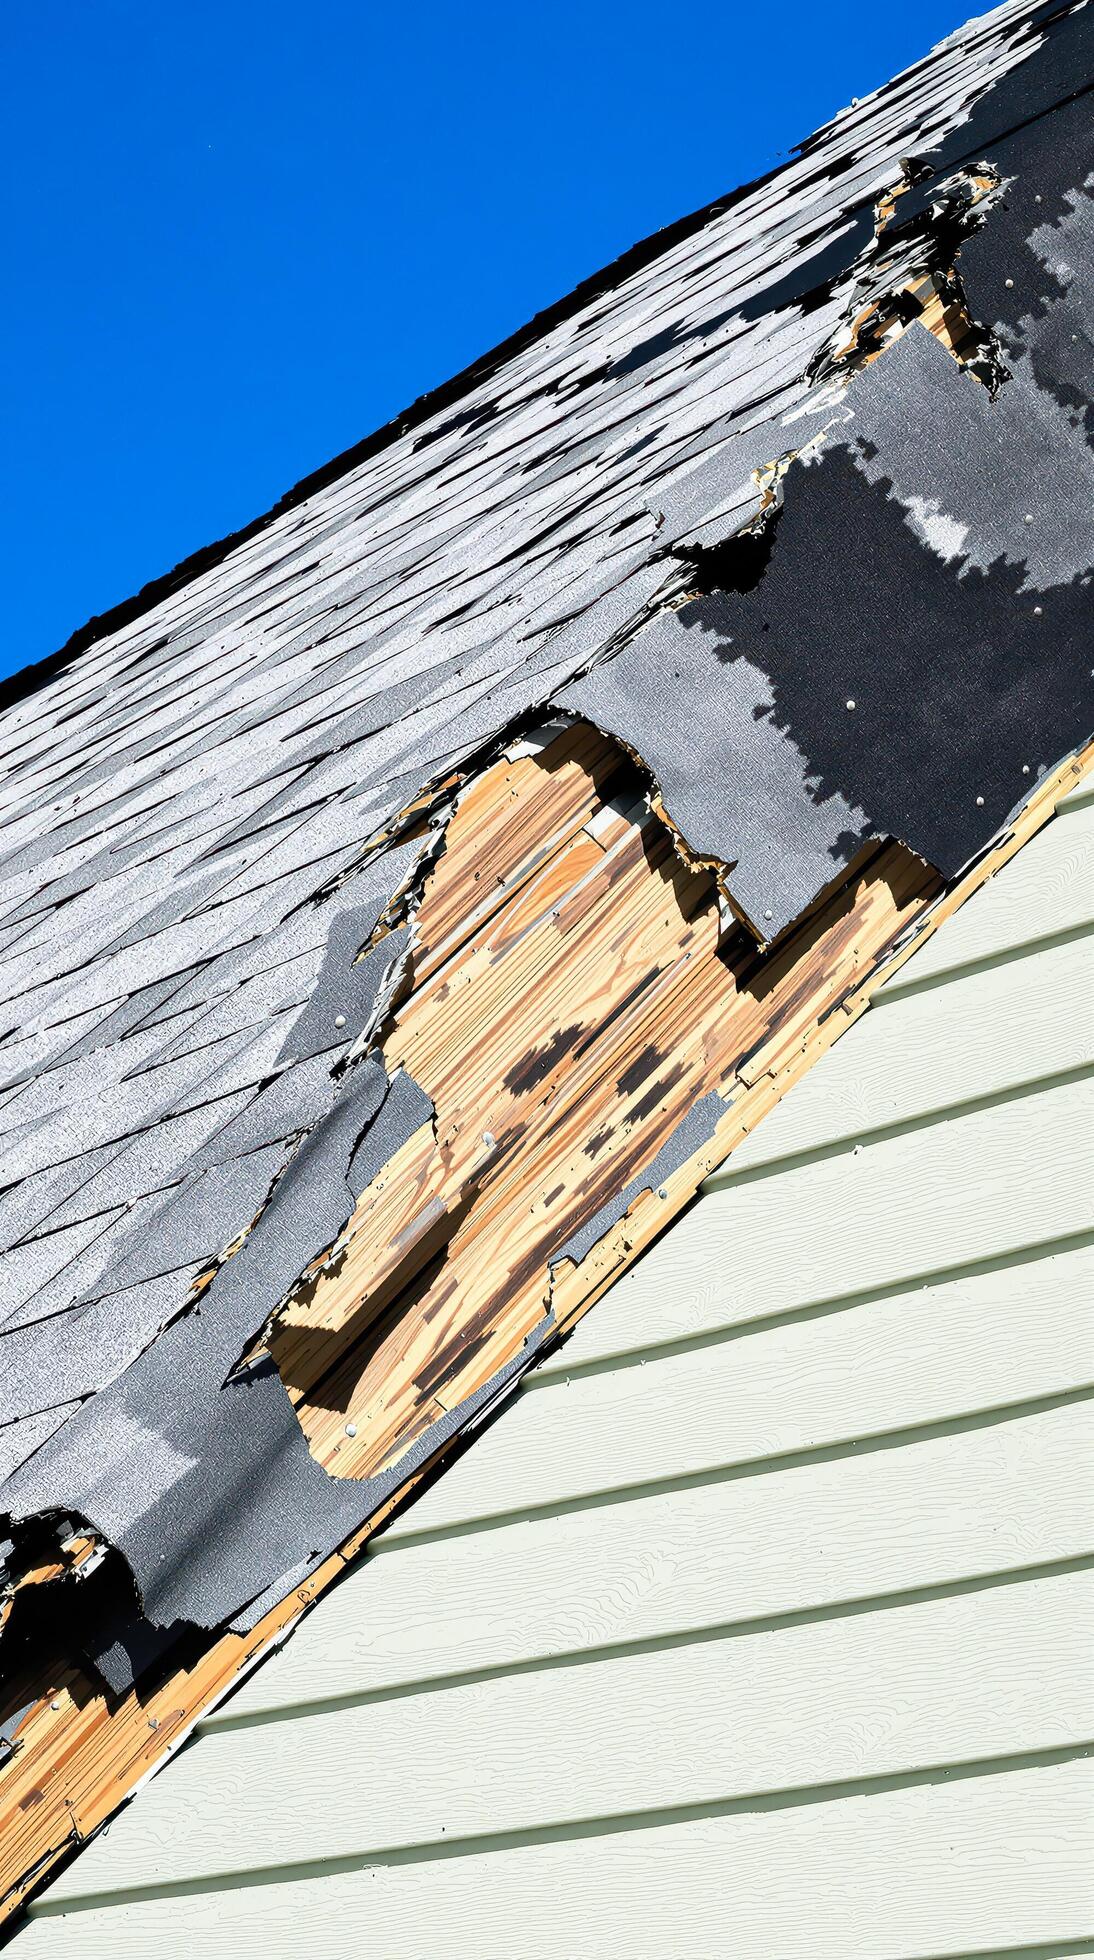
PRG Roofing & Construction Inc., based in Fort Myers and serving Port Charlotte, explains that a metal roof resists hurricane wind through its concealed clips and fastener pattern, not through the metal itself. The guide covers how standing seam attachment carries uplift, why panel gauge and clip spacing set the rating, what the Florida Product Approval verifies, and how the documentation unlocks a wind-mitigation insurance discount.
A metal roof does not resist a hurricane just because it is metal. Its hurricane resistance comes from how its panels are fastened to the deck. Two metal roofs on the same Port Charlotte street can hold or come off in the same wind, and the attachment, not the material, is the reason. A metal roof is a strong hurricane-season choice, and the strength lives at the clip and the fastener line where the panel meets the structure. Knowing how that attachment carries the load is how you tell a rated install from one that only looks the part.
PRG Roofing & Construction Inc., based in Fort Myers, serves Port Charlotte homeowners choosing a roof before hurricane season. The sections below trace how a standing seam metal roof carries hurricane wind, from the clip up. They also cover the number that verifies the wind rating and the paperwork that turns it into an insurance discount.
The Concealed Clip Carries The Wind Load
On a standing seam metal roof, the panels lock together at raised seams, and hidden clips fasten those seams to the deck. The clip sits hidden under the seam and carries the uplift, and the panel face never gets a fastener driven through it, so a wind-driven gust finds no penetration to pry open. An exposed-fastener panel, by contrast, is screwed through its face hundreds of times, and each screw is a point wind and water work on over the years.
Panel Gauge And Clip Spacing Set The Rating
A metal roof’s uplift resistance is measured by a few things: the panel gauge, the clip design and gauge, the clip spacing, and the fastener spacing into the deck. A heavier clip and a tighter clip spacing raise the wind rating in a direct, testable way. The roofing industry measures this under a standard called ASTM E1592, which loads a sample assembly with simulated wind pressure until it releases. The number that comes out is specific to that exact assembly, so a wind rating belongs to that exact assembly and its installed fastener pattern.
The Florida Product Approval Carries The Number
Every metal roof system installed in Florida carries a Florida Product Approval that records its tested wind-uplift rating. Port Charlotte sits inside the wind-borne debris region, where the design wind speed runs high along the coast, so the approval on your assembly has to cover that zone. Our crew verifies the Product Approval number on the standing seam system it installs, because that number is the proof the roof is rated for the wind Charlotte County can send. A verified approval turns a wind rating from a sales claim into a documented fact.
Standing Seam Ages Differently Than Exposed Fastener
The daily Florida heat cycle works every roof, and it works the two metal systems differently. An exposed-fastener panel expands and contracts around the screws driven through it, and over years those penetrations can loosen and back out, opening the exact points a hurricane pulls on first. A standing seam panel floats on its clips and has no face penetrations to loosen, so the attachment that holds it on day one is the attachment still holding it after a decade of summers. That is why the system chosen for the coast is usually standing seam.
The Documentation Unlocks The Insurance Discount
A rated metal roof is also an insurance asset. Florida law requires residential property insurers to offer discounts for verified wind-mitigation features, and roof covering performance and attachment are on that list. When our crew documents the installed assembly and its Product Approval, that record is the wind-mitigation paperwork your insurance carrier reads to apply the discount. The same file supports a claim after a storm, so the documentation helps lower your premium now and settle your claim later.
Verify The Roof Before The Season Tests It
With hurricane season here, call PRG Roofing & Construction Inc. in Fort Myers at (239) 237-2906 to have a Port Charlotte roof and its Product Approval verified before the next system reaches the coast. Our crew reads the assembly and confirms its rating for your wind zone, so you know what you are getting holds the wind the coast can send, and the file to prove it is in your hands.

 On a tile roof, the tile is the last thing that goes on and the least of what keeps water out. The layer that waterproofs the roof is the secondary water barrier beneath the tile, and the tile is the wear surface that shields it from the sun and the rain. Knowing that changes what you look for during an install. A tile roof is made waterproof and windproof by what gets installed under the tile, in a fixed sequence of steps that happen before a single tile piece is set.